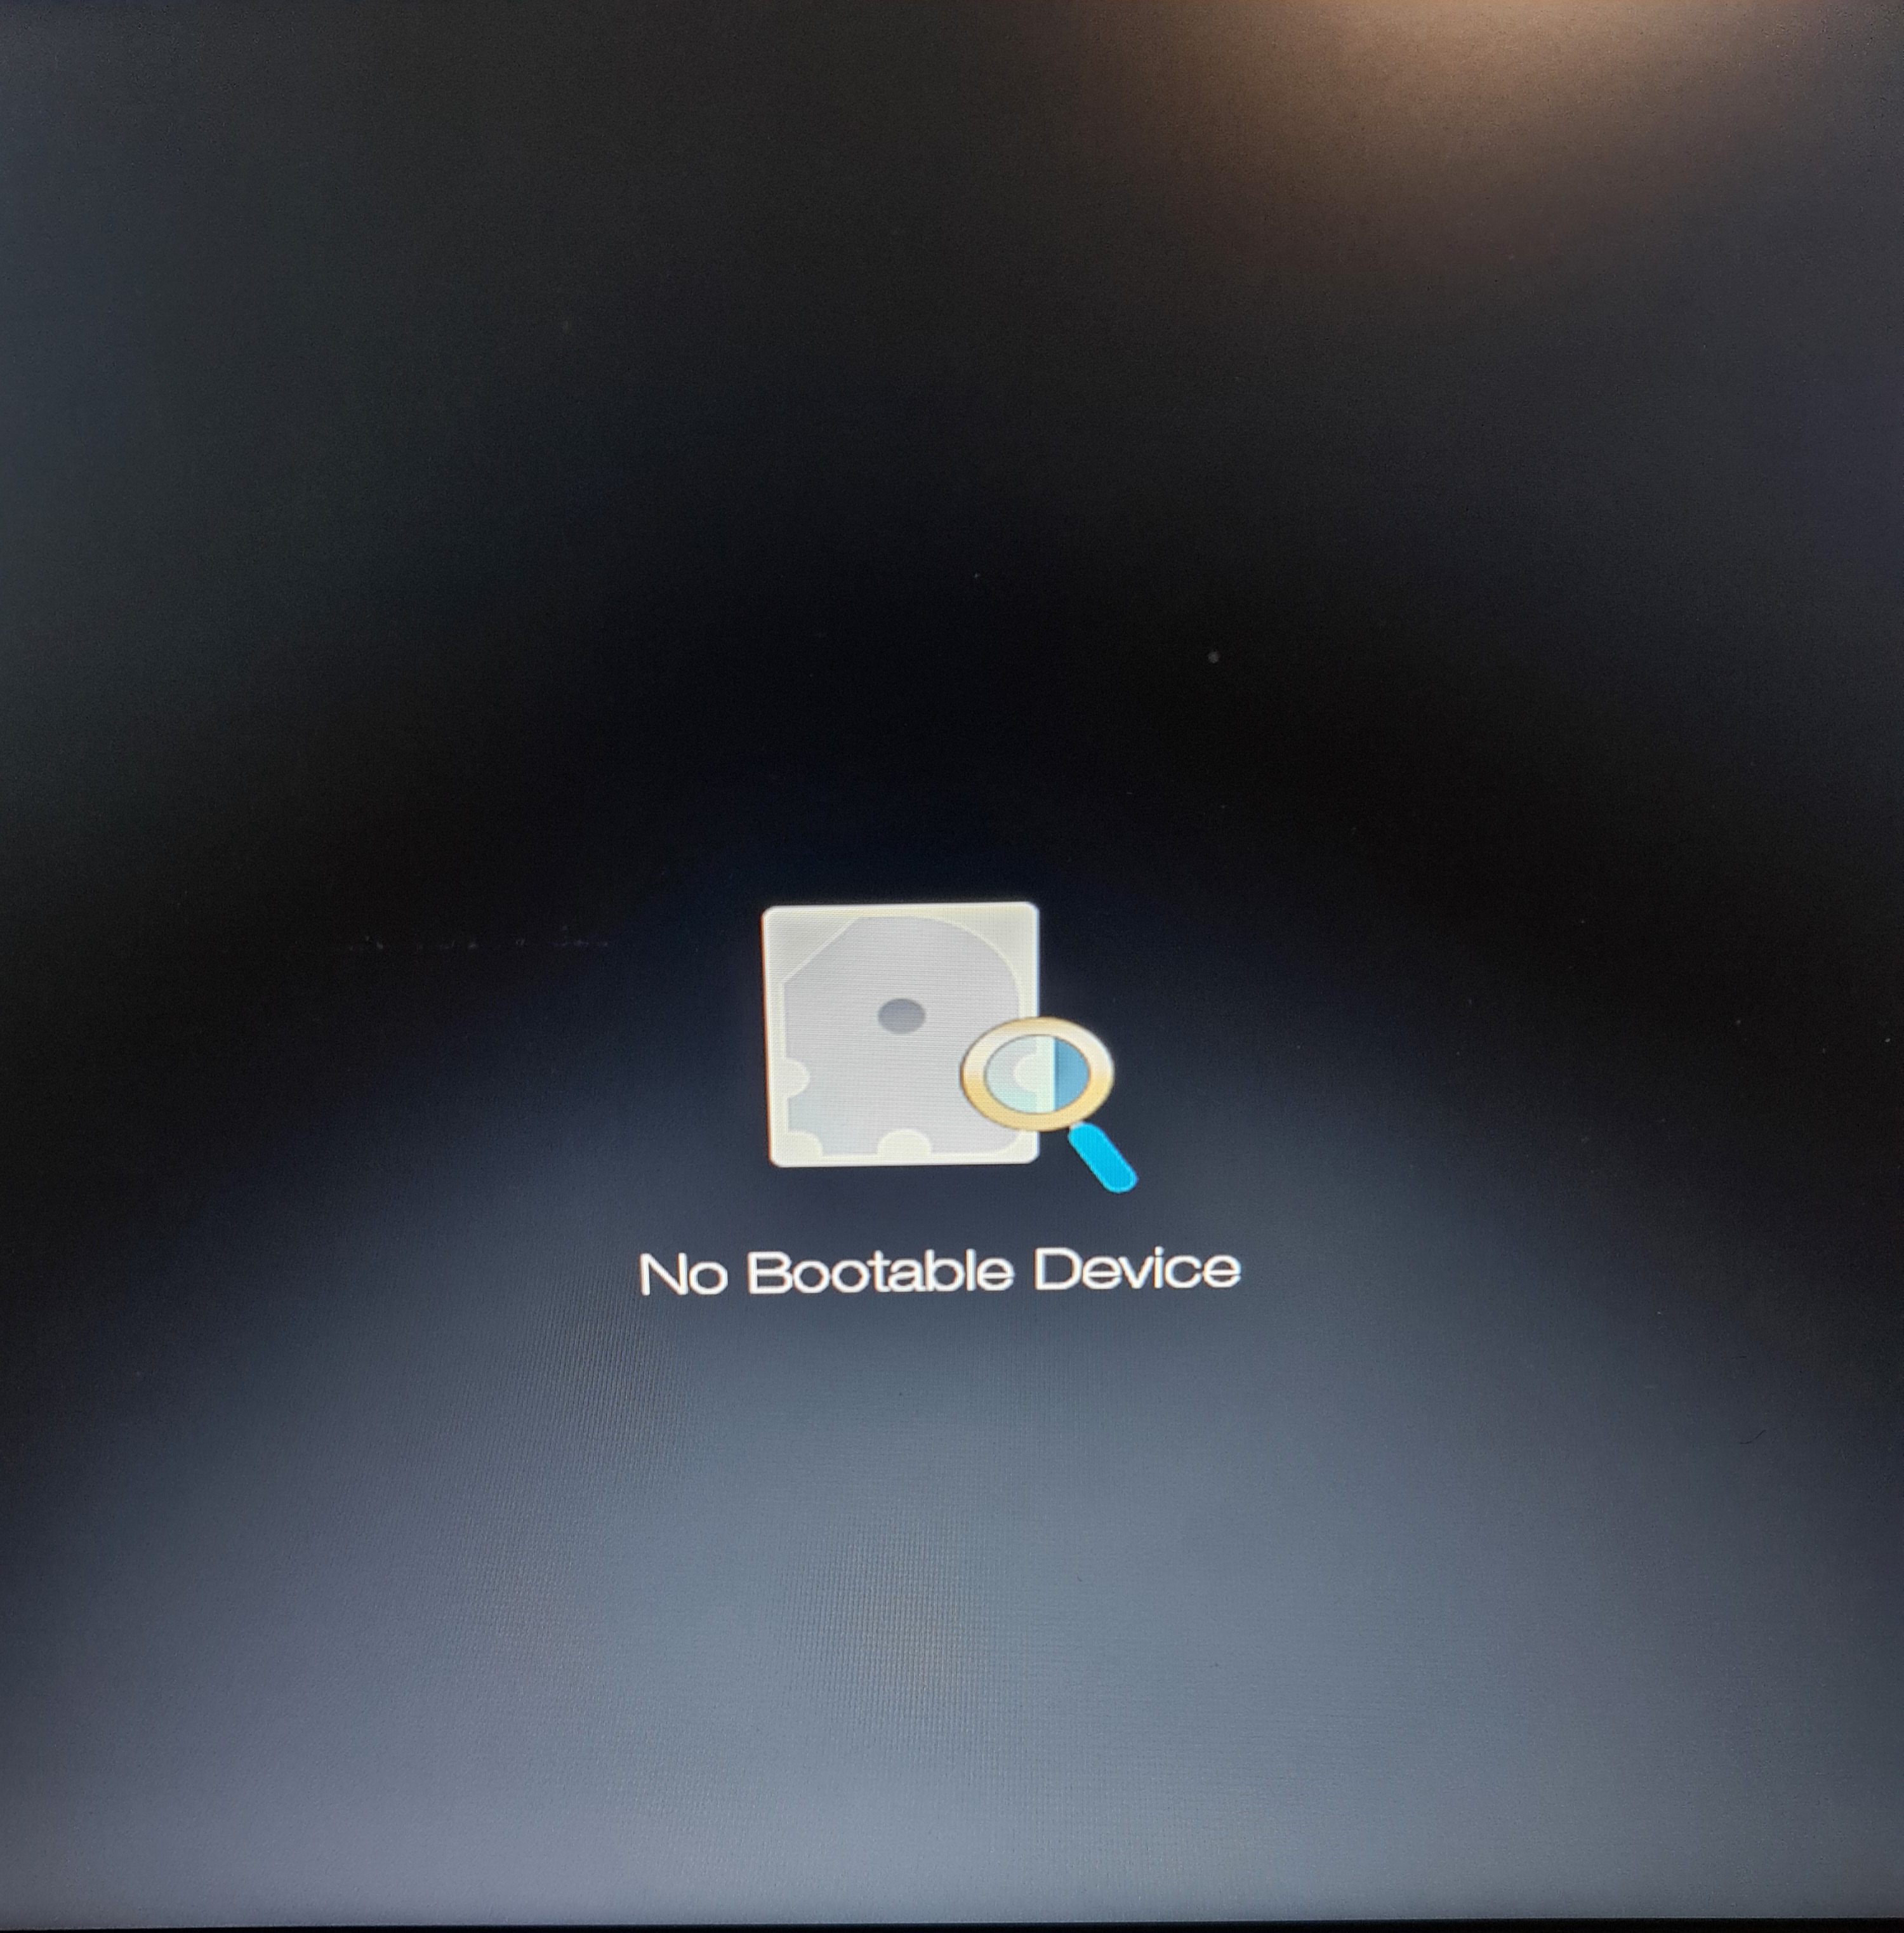
For some unknown reason, every time my computer runs completely out of power, all the BIOS’ settings (boot password, boot order, secure boot, SATA mode…) reset to the default values. For about 2 minutes, my computer will struggle to boot, and the message “No Bootable Device” will be displayed.
This is a short tutorial with step-by-step instructions to help my future self fix this issue.
Requirements :
- Make sure the computer has some charge
- A USB stick with an Arch Linux image installed.
1. Change the default configurations
Access the BIOS and change the following configurations:
- Secure boot -> disable
- F12 boot menu -> enable
- Go to the “main” menu, then press CTRL+S to enable the SATA mode entry.
- SATA MODE -> AHCI, compatible with NVME
- Fast boot -> disable
- Save changes and exit
2. From the USB live image
- Run
lsblkto list all the block devices detected by the system - Identify the
nvme0n1p2partition where the/is located - Run the following command to open the encrypted volume:
cryptsetup open /dev/nvme0n1p2 cryptroot - Mountpoints:
/dev/mapper/cryptroot -> /mnt(required)/dev/nvme0n1p1 -> /mnt/boot(required)/dev/mapper/home /mnt/home(optional)
- Mount the
cryptrootpartition with:mount -o noatime,nodev,subvol=root,compress=zstd:1 /dev/mapper/cryptroot /mnt - Mount the
EFIpartition:mount /dev/nvme0n1p1 /mnt/boot - Mount the
/homepartition (optional) - Chroot to
/mnt:arch-chroot /mnt
3. From /mnt environnement
- (Re)Install grub:
grub-install --target=x86_64-efi --efi-directory=/boot --bootloader-id=GRUB - Generate a new configuration file for grub:
grub-mkconfig -o /boot/grub/grub.cfg - Then
exitandreboot
4. Conclusion
After following all these steps, the computer should be able to boot now. If this is not the case, try to review all the configurations in the BIOS and retry.